Building Reform
It's about time I post some imagery from my Reform laptop building experience. (This happened months ago.) I'll document this mostly by sharing the images in chronological order below, and dropping in an occasional comment.
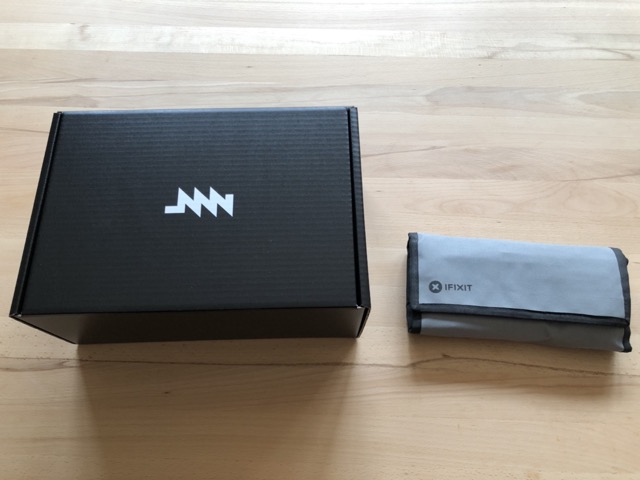
So it begins ... the Reform box and my beloved Ifixit kit. The second image shows all of the components, each meticulously wrapped in paper.
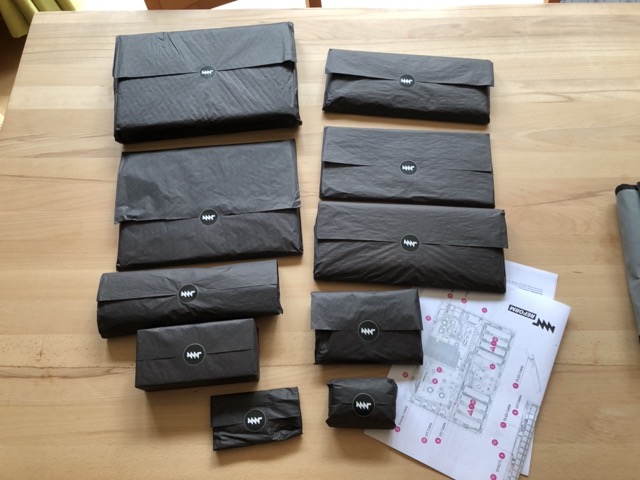
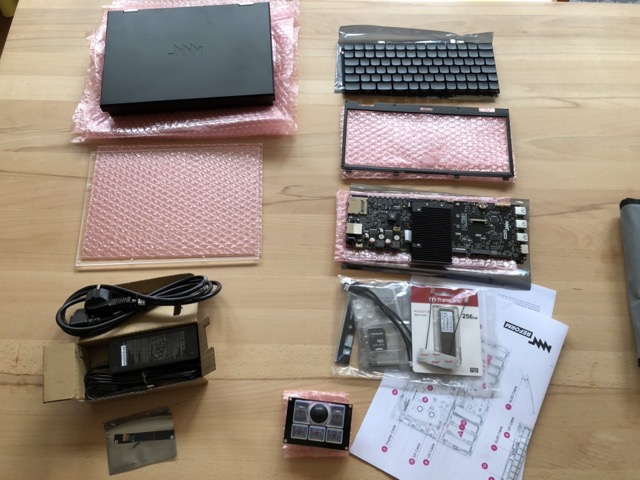
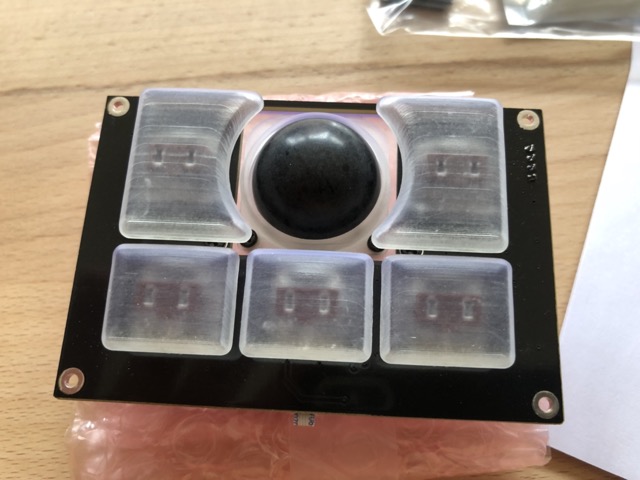
Here are the components. After the bird's-eye view, there are the trackball, OLED display unit, power supply, acrylic case bottom, the mostly pre-assembled case itself (closed and opened), keyboard and keyboard frame, mainboard, and miscellanea (including such important things as SSD and WiFi card).
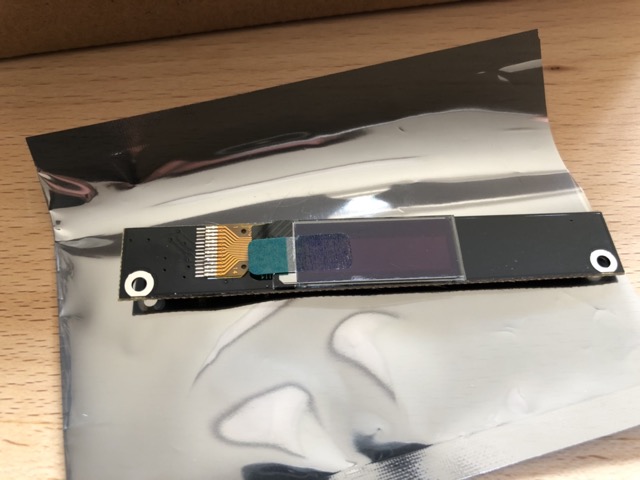
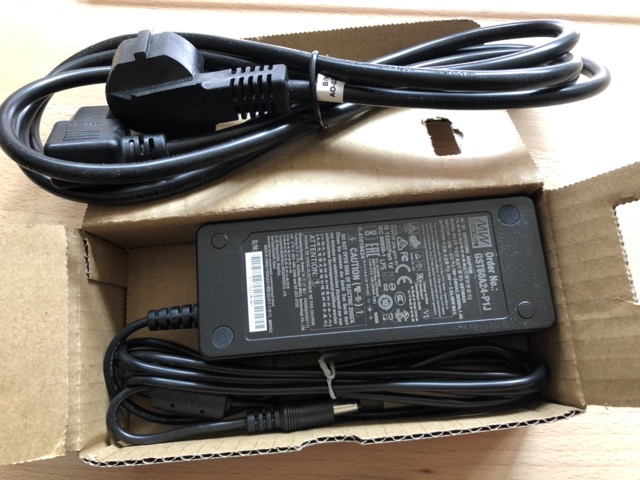
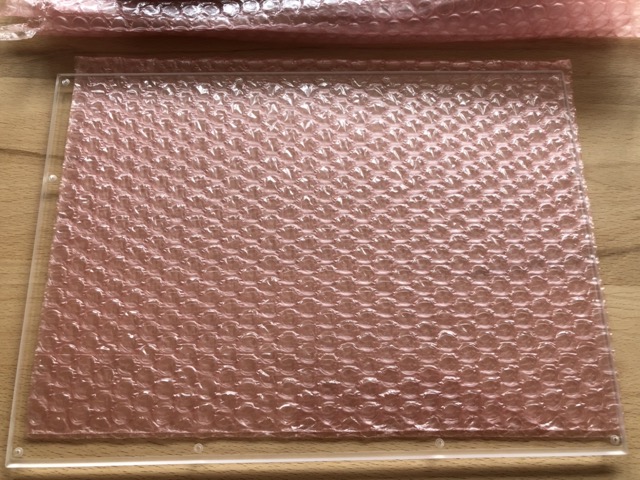
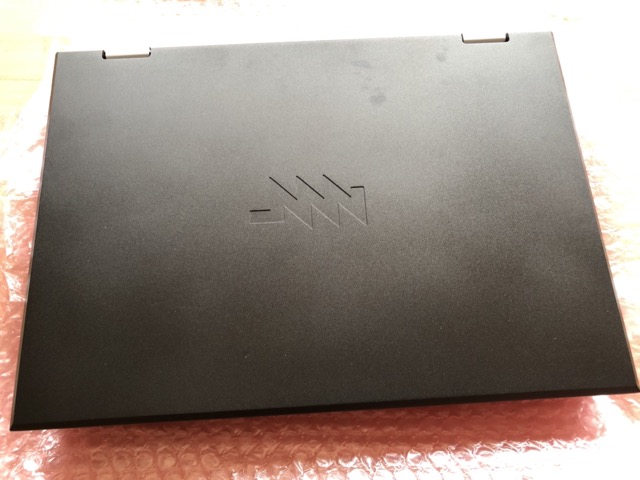
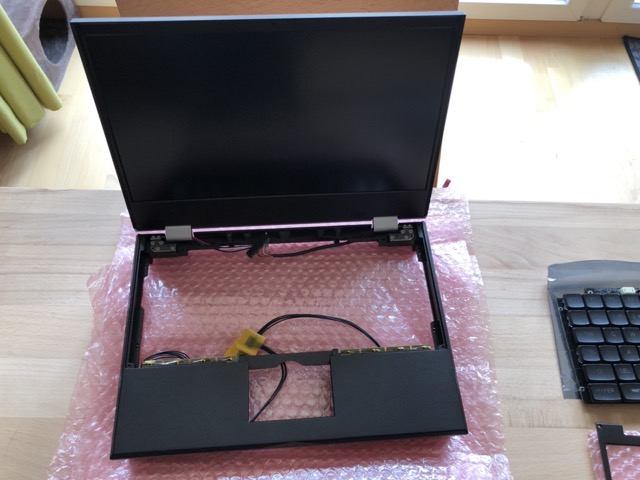
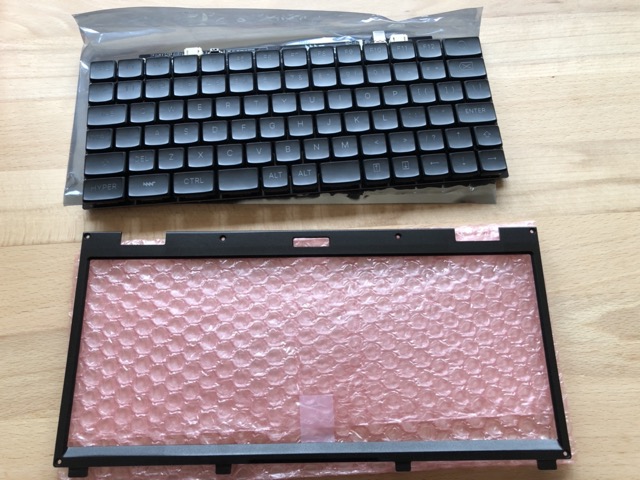
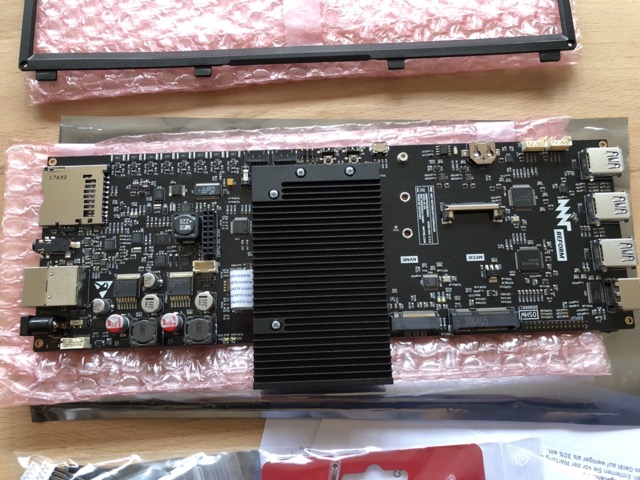
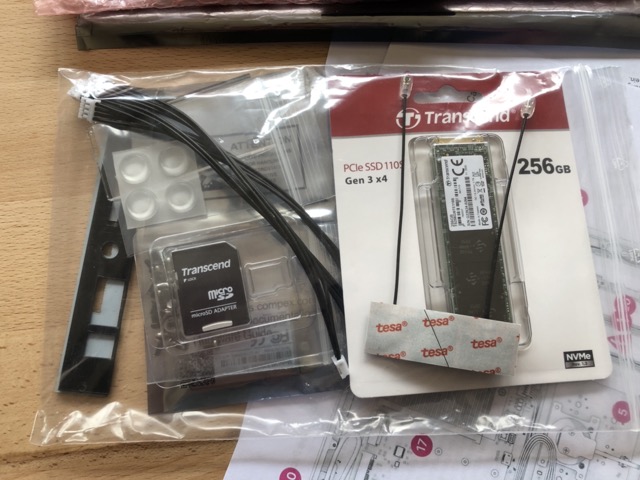
It begins. The batteries need to be removed from the case, because they come somewhat pre-powered, and it's not a good idea to work inside the case with the batteries inserted.
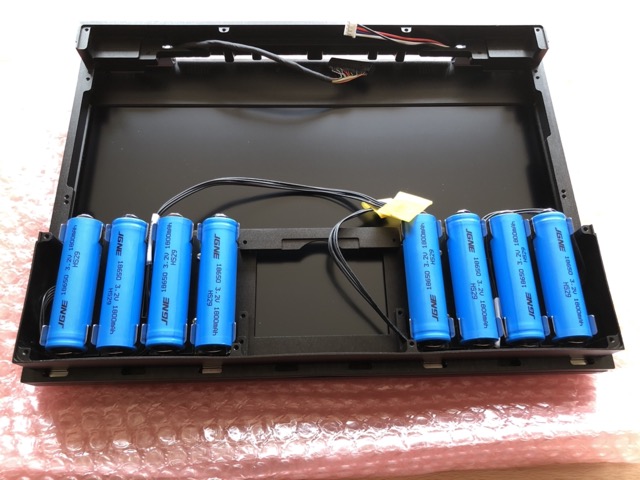
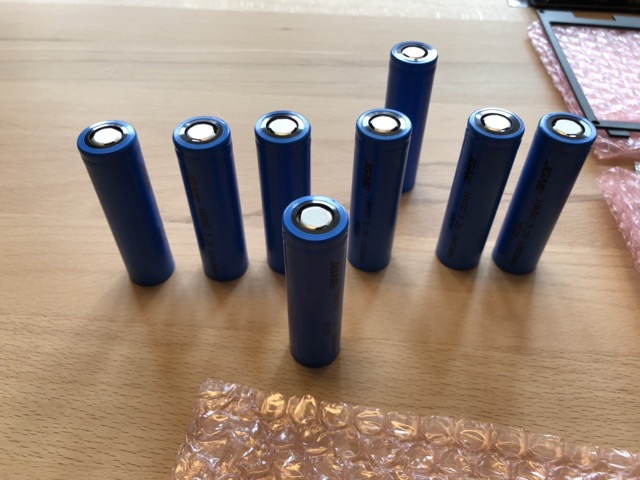
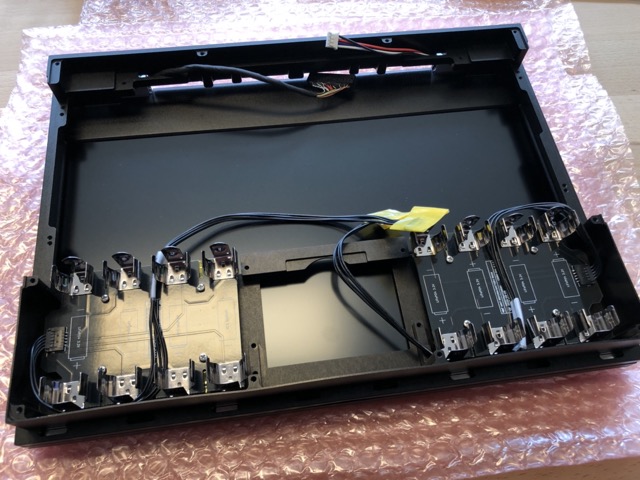
Of course, I needed to ground myself prior to dealing with any of the more sensitive components. This was not a mindfulness exercise or something, but involved connecting myself to a power plug. Don't worry. I just connected to the ground pin. All is well.
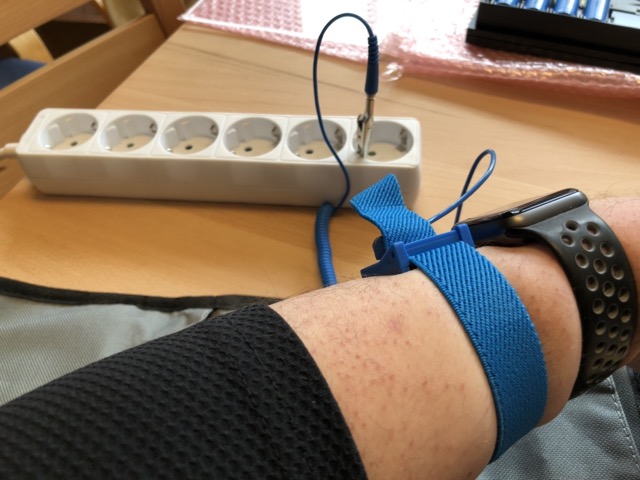
First, I mounted the mainboard and trackball.
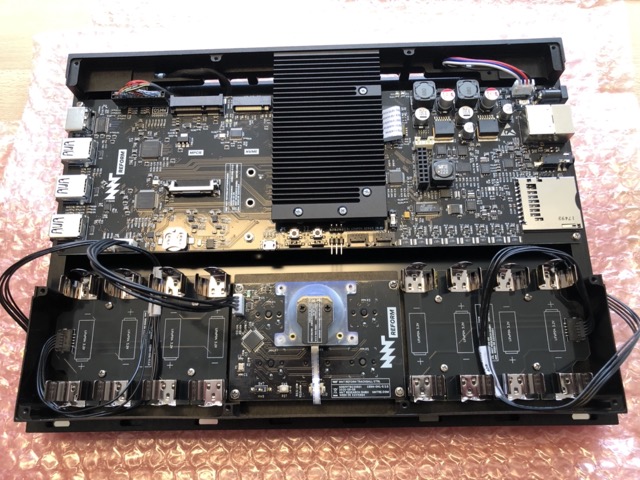
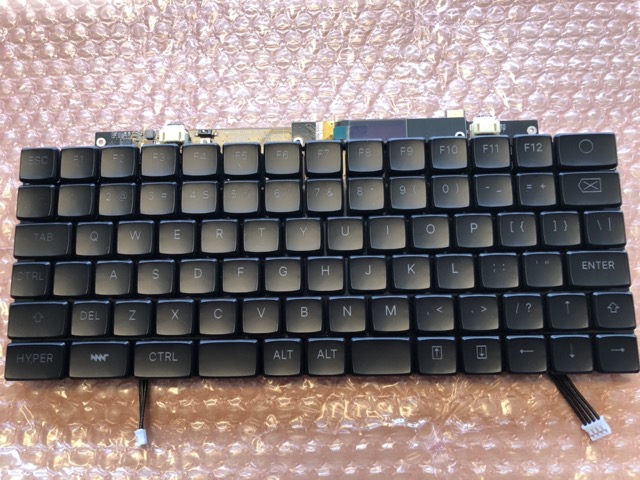
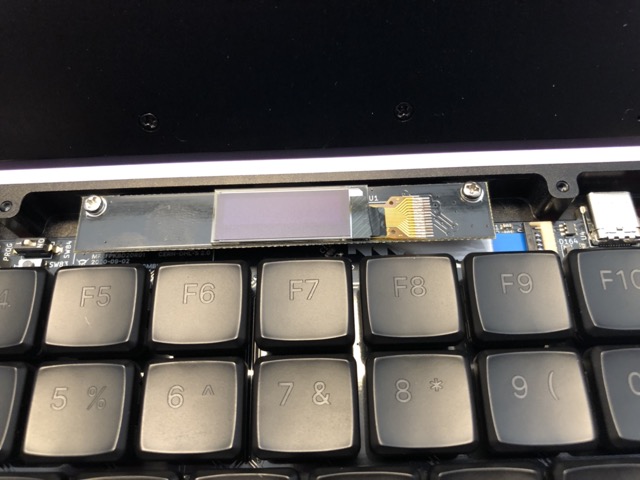
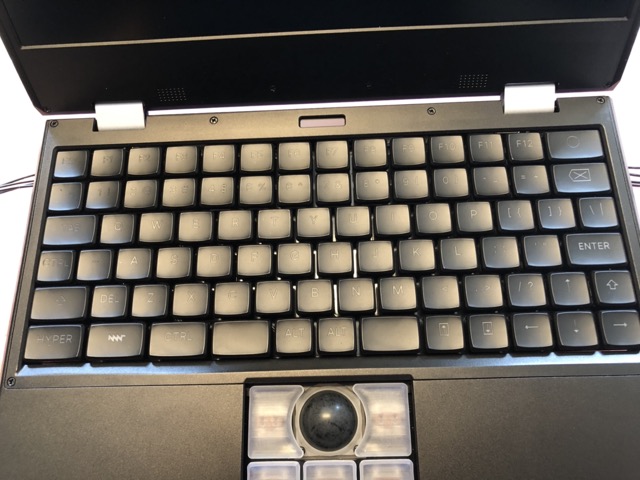
The keyboard came next, and after connecting some wires, it could right away be mounted into the case, followed by the OLED board. The keyboard frame completed the top, and I could return to the innards, to connect the keyboard to the mainboard.

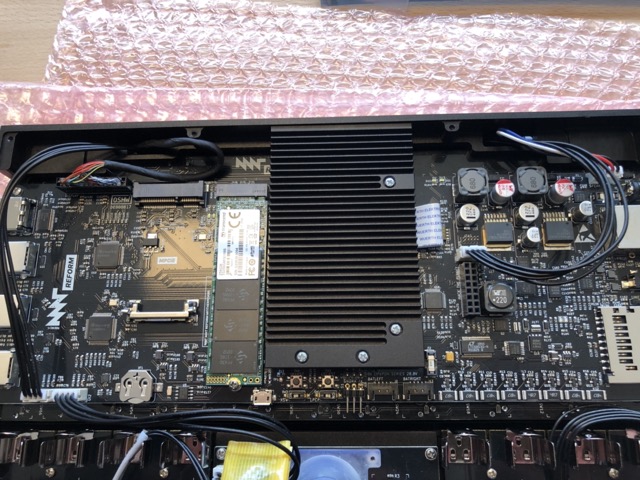
SSD and WiFi card fit neatly into the provided slots. The final touch before mounting the acrylic case bottom was to reinsert the battery cells and connect the power to the mainboard.
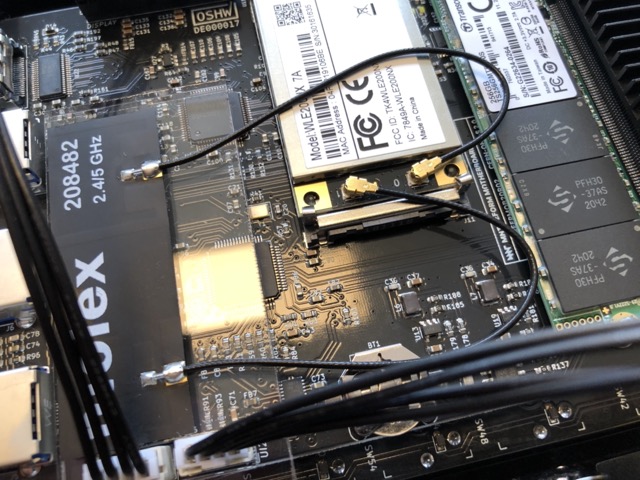
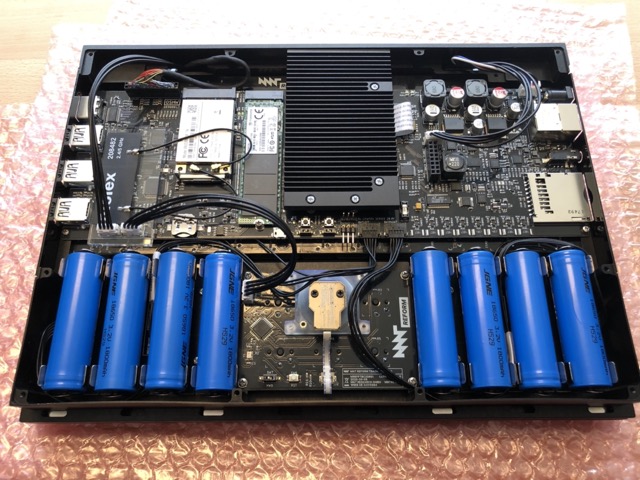
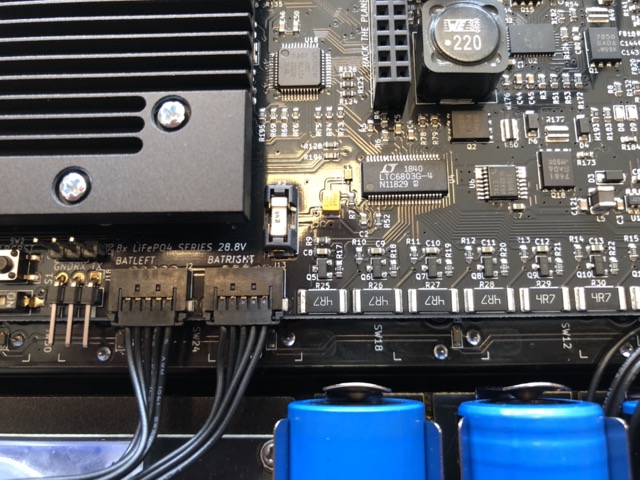
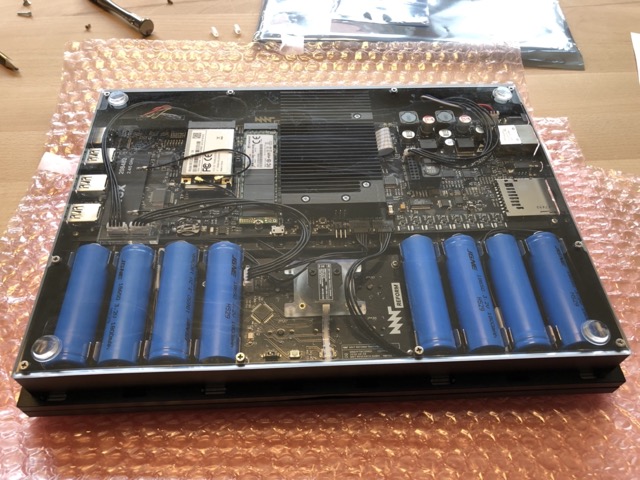
A little bit of inspection revealed that I had broken one of the side panels by tightening one screw too much. Not a biggie. A quick check of the batteries showed seven fine cells and one that still needs to be calibrated.
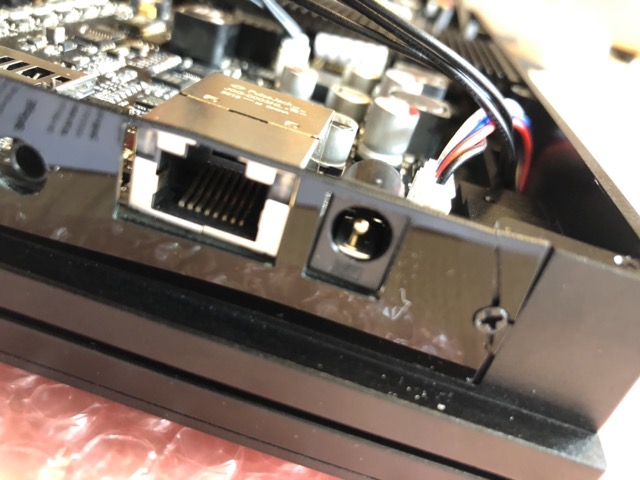
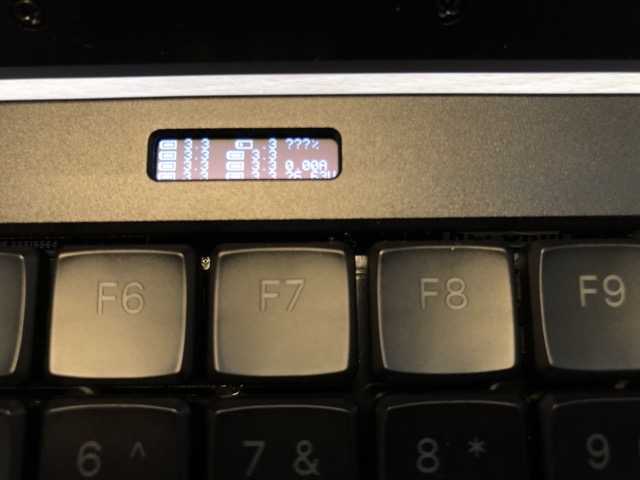
Time to get real: booting up, connecting to the home WiFi, starting Firefox, and loading the Babbel homepage were entirely straightforward. Success!
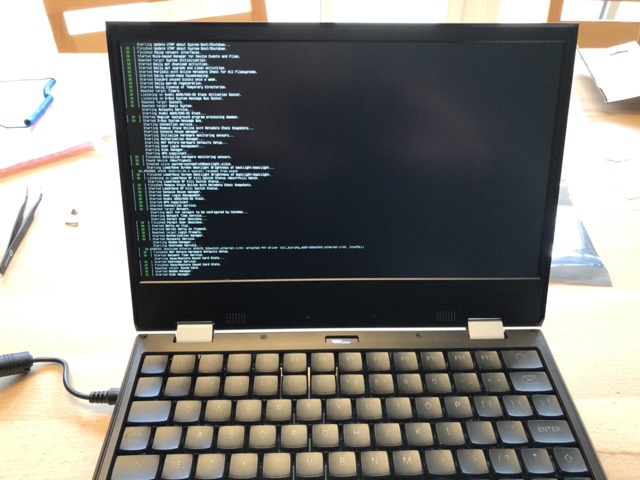
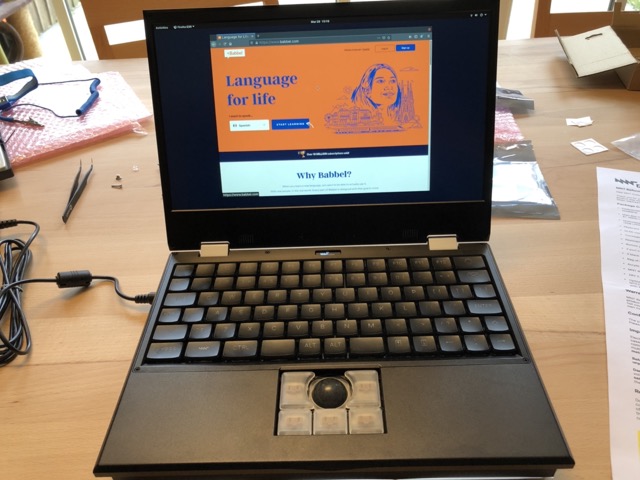
The assembly was a breeze, mostly because of the perfect instructions. What I find remarkable about this machine is that it's entirely maintainable with just a screwdriver. The acrylic case bottom makes it quite a sight.
One other bit I really like about the machine is the "circle" key (top right of the keyboard), which is a direct gateway to the lowest level of the machinery. Pressing the circle key, followed by 1, turns the machine on, 0 will turn it off. Circle B will show the battery status in the small OLED display right above the keyboard - down to the level of the voltages of the eight individual cells. And so forth.
I've been working my way into the machine, exploring the Sway desktop (quite amazing, honestly), making sure some of the favourite software runs on the machine, et cetera. Stay tuned.
Tags: the-nerdy-bit